COMING SOON
The Magic of Making An Origami Rose
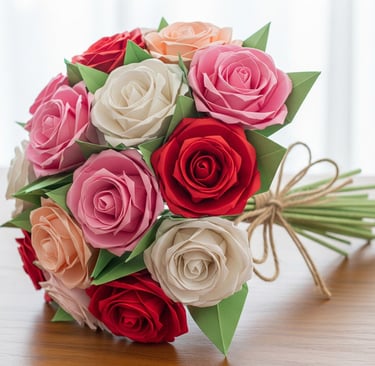
Experience the lasting beauty of a handmade origami rose, a perfect blend of romance and permanence. Transform a simple sheet of paper into a stunning, three-dimensional piece of art that captures the elegance of a fresh bouquet without the fleeting lifespan. Learn the timeless craft of origami and create a beautiful, lasting memory with your own hands.
9/1/20256 min read
Ever think about the fleeting beauty of a fresh bouquet? They’re absolutely stunning, aren't they? But they don’t last forever. You get maybe a week, maybe two if you’re lucky, before those petals start to droop and the memory begins to fade. What if there was a way to capture that same romance and elegance in a form that lasts? Well, there is, and it's simpler than you might think. This isn't just about making a paper flower; it's about crafting a small, permanent piece of art—a handmade origami rose.
It's a little bit of magic, honestly. You take a perfectly flat, two-dimensional sheet of paper and, with nothing but your hands and a bit of focus, you give it life, texture, and a sense of volume. It's a craft that's been practiced for centuries, a true testament to the idea that the most profound things can come from the most basic materials. So, grab a coffee, put on some music, and let's get into it.
What Makes an Origami Rose a "Forever Flower"?
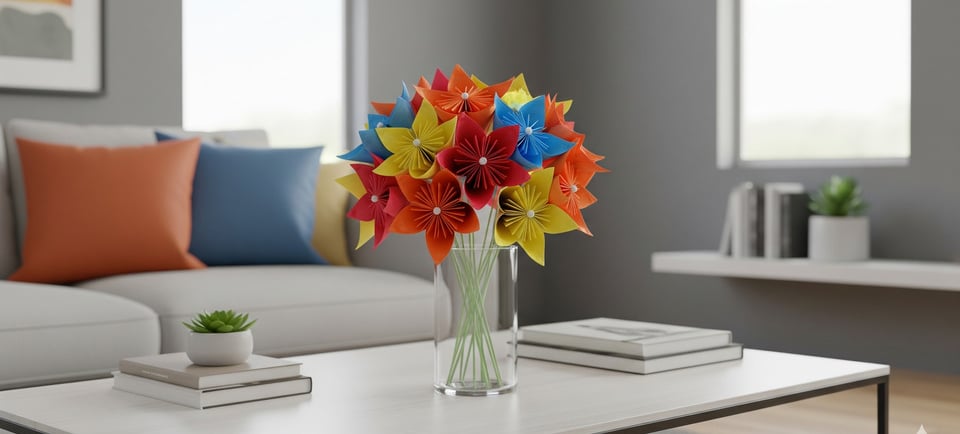
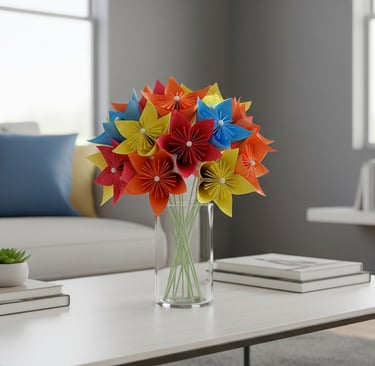
When you make an origami flower, you're not just folding paper; you're creating a moment. Unlike a real rose, which wilts and fades, an origami rose is a tangible representation of a gesture—it never loses its shape or its vibrant color. It’s perfect for those of us who want to give a gift that keeps on giving, whether it's for a special someone or a small token of appreciation for a friend. Think about it: a single, crisp paper rose placed on a desk, or a small origami bouquet in a vase. It’s a quiet reminder of care and creativity.
The process itself is a surprisingly meditative experience. It’s kind of like that feeling you get when you’re baking bread or working on a puzzle. The world melts away as you focus on the creases, the folds, and the feel of the paper under your fingers. It’s the perfect little escape from a busy day. Plus, let's be real, you get to say, "I made this!" and that just feels good.


FAQs on Origami Roses
Let's pause for a second and get some common questions out of the way. If you're anything like me, you've probably got a few running through your head right now.
Q: What kind of paper should I use for an origami rose?
A: Honestly, you can start with just about anything—even standard printer paper is fine for practicing. But if you want that professional look, a good quality origami paper is your best friend. It’s typically a bit thinner and stronger than regular paper, which makes those sharp creases and tricky folds so much easier. You can find it at most craft stores or online.
Q: How long does it take to fold one?
A: Well, that depends! A simple, beginner-friendly design might take you 15 to 20 minutes, while a more complex one like the famous Kawasaki Rose could take you an hour or more, especially when you’re first starting out. The key is patience. It's not a race!
Q: Can I use different sized paper?
A: Absolutely. A bigger sheet is great for beginners because it's easier to handle, but you can also use smaller sheets to create tiny, delicate roses for a unique decorative touch. Just make sure it's a perfect square!
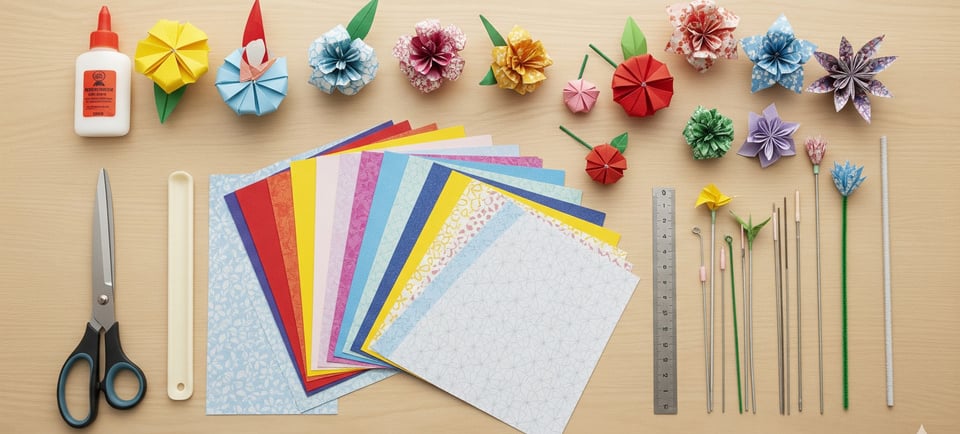
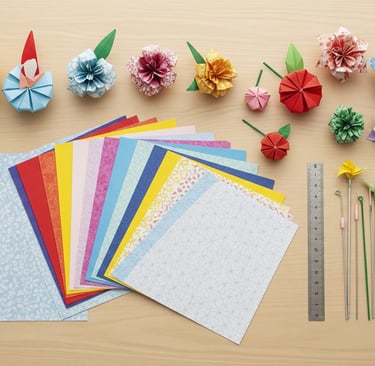
Gearing Up: The Essentials of Paper Craft
Before we get to the fun part—the actual folding—you’ll need a few supplies. Don’t worry, it’s nothing complicated. Most of these things you probably have lying around the house.
A single sheet of square paper: As we just talked about, this is your canvas. The most common sizes are 6x6 inches (15x15 cm) or 8x8 inches (20x20 cm).
Your hands: The best tools you have!
A smooth, flat surface: This is crucial for making crisp, clean folds. A table or a cutting mat works great.
Patience and a playful attitude: Seriously. The first one might not be perfect, and that’s more than okay. Just like learning to ride a bike, it takes practice.


The Anatomy of a Fold: Getting the Basics Down
Every great paper craft starts with a handful of basic maneuvers. Think of them as the building blocks of your rose. The two most fundamental folds you’ll encounter are the valley fold and the mountain fold. Let me explain.
A valley fold is the most common kind. You simply fold a piece of paper towards you, creating a crease that looks like a “V” or a valley.
A mountain fold is the opposite. You fold the paper away from you, creating a crease that sticks up like a mountain ridge.
It's amazing how these simple actions, when combined, can create something so complex and beautiful. You'll be using these over and over again.

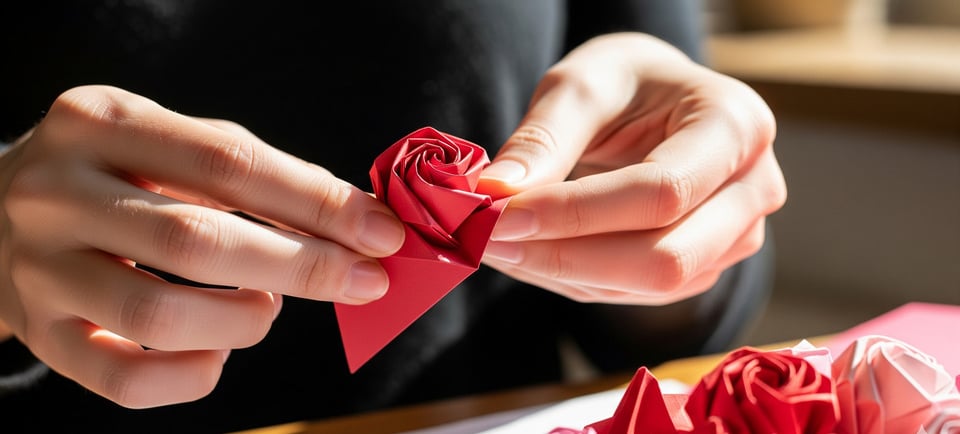
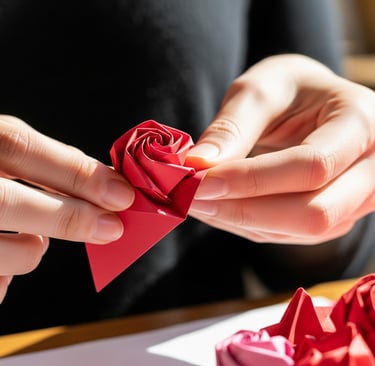
Folding an Orgami Rose: A Step-by-Step Guide
The journey to making a beautiful paper rose is a progression. You wouldn’t start out trying to fold a complex, many-petaled masterpiece. We’ll walk through the process from an easy-to-follow beginner design and touch on what makes the more advanced models so special.
Stage 1: The First Few Folds
This is where we build the foundation of the rose. You'll start with your square paper and make a series of folds to create a grid pattern. This grid acts as a map, guiding you through the rest of the folding process. The goal here is to be precise; every crease matters. The cleaner your folds, the more symmetrical and realistic your final rose will look. For the easiest rose designs, you'll work from a simple base, like the "Spinning Top Rose" or the "Lovely Rose."
Stage 2: Shaping the Petals and Folding the Rose
This is where the magic really starts to happen. You’ll begin to work with the creases you’ve made, pushing and pulling the paper to start forming the recognizable shape of the rose. For beginners, the process involves a simple twisting motion. You'll fold the paper inward and then start to twist it clockwise, watching as the center of the paper begins to coil into a tight bud. It's a truly satisfying moment when you see the form emerge.
More advanced techniques, like those used for the "Kawasaki Rose," involve a more complex series of pleats and reverse folds that create a beautifully layered and natural-looking bloom. These models often have a more defined spiral in the center and distinct petals that can be shaped individually.
Stage 3: The Finishing Touches
Once you have your core rose shape, it’s time to add a bit of personality. No real rose is perfectly smooth, so we want to mimic that natural look. Use a pencil or a skewer to gently curl the edges of the petals. A simple motion of wrapping the paper around the cylindrical object will give the petals a gentle curve, making the rose appear as if it’s just starting to open. This little detail makes all the difference.
If you want to go a step further, you can add a simple stem and leaf. These can be folded from green paper and attached to the base of the rose to complete the illusion. Honestly, adding a leaf and stem just elevates the whole project to the next level.


A Little Thought on the Journey
This whole process, from that first clean fold to the final gentle curl of a petal, is a journey. It’s a chance to slow down, to engage your hands and your mind, and to create something beautiful. Whether you're making a single rose to gift to a loved one or a whole bouquet for a special occasion, you're embracing the art of paper folding.
So, what are you waiting for? Grab some paper and get started. You'll be surprised at what you can do with your own two hands. And hey, if you get frustrated, just remember that even master folders started with a wonky crane or a lopsided box. It’s all part of the fun.