COMING SOON
DIY Toe Nail Flower Art: How to Paint Your Own Flower Nail Designs
Who wants to blow their summer budget on salon pedicures? Creating your own DIY flower art on your toes is a creative, empowering process that saves you money while giving you that put-together feeling. Learn how to create stunning floral designs on your toenails and watch as something beautiful blossoms right on your feet.
9/1/20255 min read
It’s a funny thing, isn’t it? That little burst of joy you get when your feet are all gussied up. We spend so much time on our hands, our hair, our clothes, but when your toes are looking fresh, it just makes you feel... well, put together. It’s a little secret weapon, especially during those warm months when sandals and open-toed shoes become our daily uniform. But let's be honest, all those trips to the salon for a fancy floral pedicure can really start to add up. I mean, who wants to blow their whole summer vacation fund on toenail art?
Honestly, I've been there. I remember looking at my chipped, boring toenails and thinking, "There has to be a better way." I'd see those stunning flower nail art designs online and feel a pang of jealousy. Was I really destined to only have beautiful toes after a pricey trip to the salon? That's when I decided to take matters into my own hands. I realized that creating your own DIY flowers on toes is not just about saving money; it’s a creative, empowering process. It’s a moment of mindfulness, a chance to get a little messy and just create something beautiful. It's a lot like gardening, really. You plant the seeds of an idea, nurture it, and watch as something lovely blossoms right before your very eyes—or, in this case, on your feet!
The Art of the Toenail Art Dot
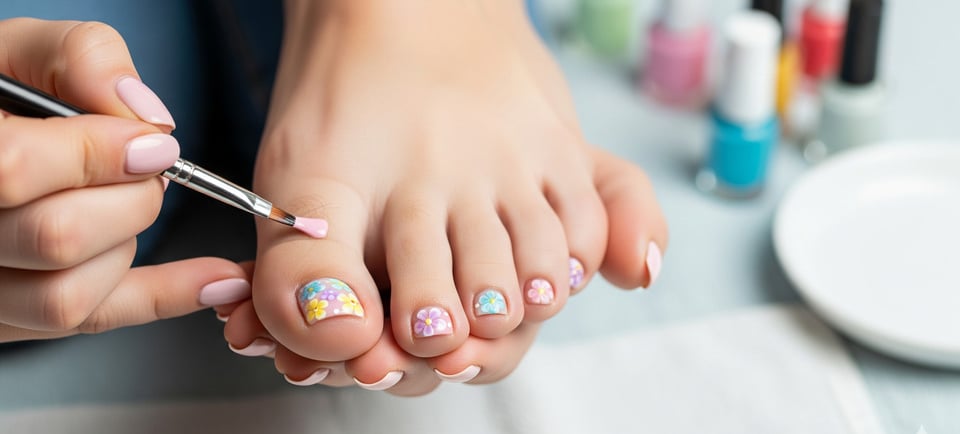
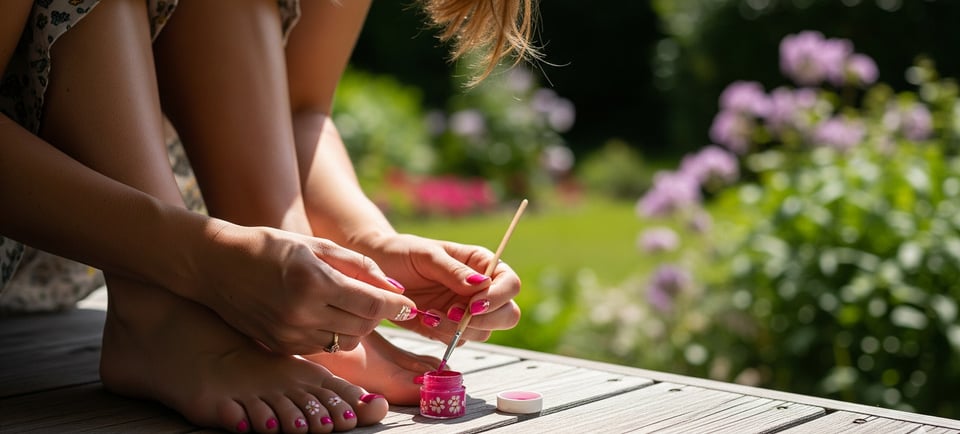
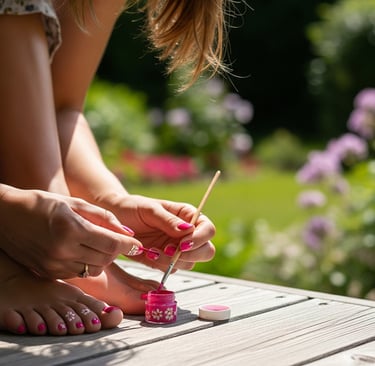
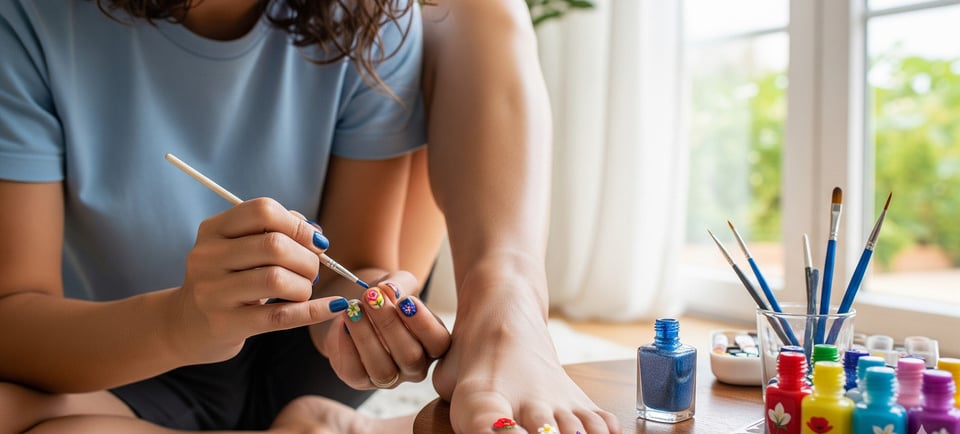
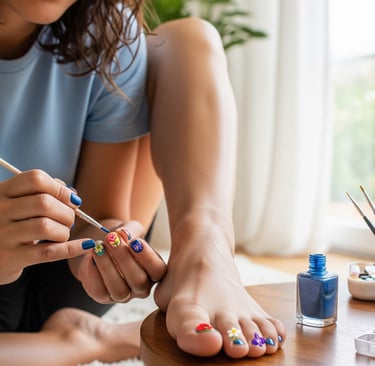
Now for the fun part. The easiest and most forgiving way to create beautiful toenail art is with dots. I’m serious. A simple dot can be transformed into a delicate petal with just a little nudge.
Prep and Prime: First, get your toes ready. Give them a nice, clean base coat. Two coats of your main color are usually best for a smooth finish. Think of it as a blank canvas waiting for its first brushstrokes.
The Petal Dots: Pour a small dab of your flower color onto your makeshift palette. Dip your tool of choice—I love a toothpick for this—into the polish. Then, gently dab five small dots in a circle on your nail. You can put them anywhere, so get creative! Some like a single flower on the big toe, while others go for a whole little bouquet.
The "Drag and Drop" Technique: This is where the magic happens. While the polish is still wet, take your toothpick or a fine needle and drag the center of each dot toward the middle of your little circle. You'll see the dots transform into beautiful, tear-shaped petals. It’s seriously that simple. The shape will look natural, almost like a Hawaiian hibiscus. It's a quick, easy way to get a professional-looking design without all the fuss.
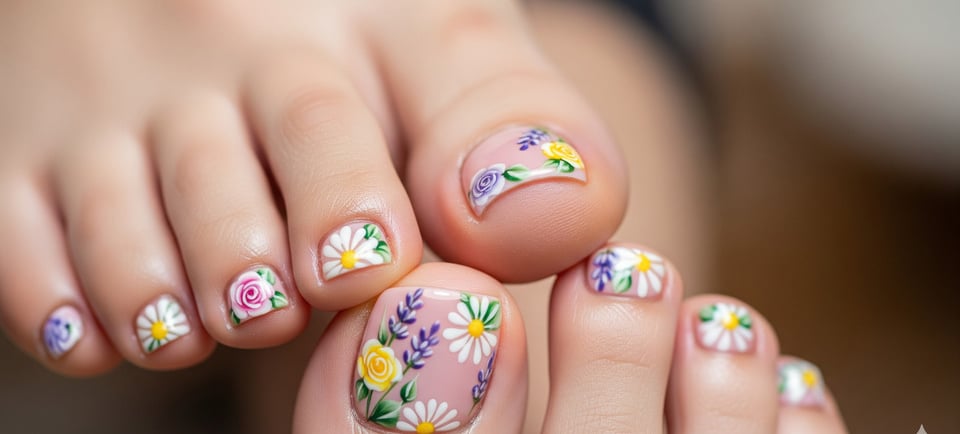
The Secret Sauce: Adding Those Little Details
Once your petals are set, you can add a tiny dot of a contrasting color to the center of your flower. This little detail makes a world of difference. A quick dip and a light tap—that's all it takes to bring your flower to life. Then, with a little green polish, you can create a few tiny leaves peeking out from behind your flower. Just a quick V-shape or a few small lines will do the trick. You can even use a fine brush to create thin, wispy stems, giving your little floral arrangement some personality.
This method works for so many different flower designs. Want a sunflower? Use yellow dots and a brown center. Craving a rose? Add a few layers of petals and a swirling motion in the center. The possibilities are endless, and you're the one in charge. There's something really special about a floral pedicure you can say you did yourself, isn’t there? It just feels… earned.
FAQs About Flower Nail Designs
Sometimes, you just have a few questions that pop up while you're in the middle of a project. It happens to the best of us! Here are some common ones I hear all the time.
Q: Can I use regular paint instead of nail polish?
A: I wouldn't recommend it. While some folks use acrylic paint for detailed nail art, it's not meant for the long haul. Nail polish is formulated to stick to nails, and it’s a lot more durable. If you do use acrylic paint, you'll absolutely need a good, high-quality top coat to seal it, or all your hard work could just wash away with your first shower.
Q: How do I make my nail designs last longer?
A: Two words: top coat. Seriously. It’s like a shield for your flower designs. Apply a nice, thick coat after your design is completely dry. You can even add a fresh coat every few days to prevent chipping and keep the shine.
Q: I have a shaky hand. Any tips?
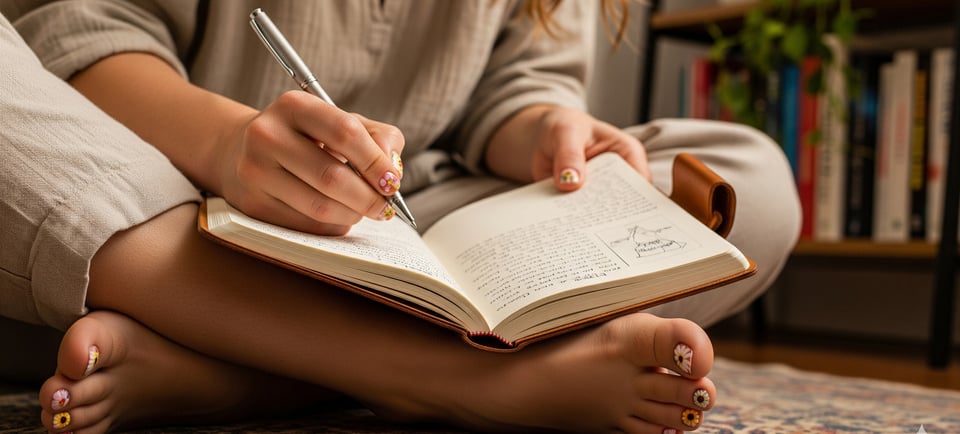
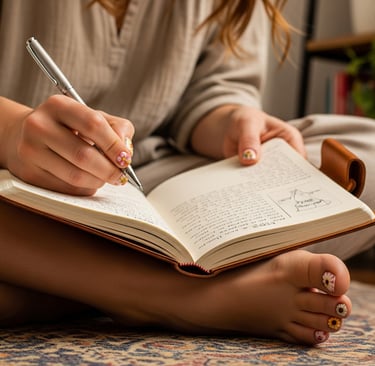
A: Oh, believe me, a steady hand is a myth. The secret is to go slow. Brace your hand on a table, or even on your other leg, for stability. And remember, a DIY flower on toes doesn’t have to be perfect. The small imperfections are what make it truly unique and human-made. Think of it as your artistic signature!
The Sweet Scent of Success
Once you’re done, you’ll want to let your new nail designs dry completely. This is the hardest part, I know. Patience is a virtue, and it's especially important here. Once they’re set, you can get back to your day, but with a whole new swagger. You’ll find yourself looking down at your feet and just smiling. A tiny little floral masterpiece, right there on your toes.
And that's really the point, isn't it? It's not about being perfect, or being a professional. It's about finding a small way to express yourself and make your day a little bit brighter. So go on, give it a try. Get your toes ready for their close-up. They deserve a little bit of floral flair.